Showing posts with label cooking. Show all posts

Monday, April 29, 2013

Spotty scones (sultana scones)

Most kids love cooking so here is a super simple scone recipe which the kids really enjoyed making (anything you can dip your hands in is usually a winner here)


Add flour, dextrose (or caster sugar), salt and butter to a big bowl and mix using your hands until it goes all crumbly


Add sultanas then add milk and slowly add water while stirring with a knife (we did not use all of the water)


Roll out on a floured bench and cut out rounds with a cookie cutter.


Place on a lined tray and brush with milk.


Bake in the oven for approx 10mins at 200 degrees


Smother in butter and EAT!


YUM!

Spotty Scones 
(recipe from Cooking With Kids by Susan Davies)
2 1/2 cups self raising flour
1 Tbsp caster sugar (we used dextrose)
Pinch salt
30g butter
1/2 cup sultanas
3/4 cup milk
1/2 cup water (approx - we didn't use all of it)

1. Preheat oven to 220c. Line a tray with baking paper.
2. In a large bowl, combine flour with sugar and salt. Rub in butter with finger tips till mixture resembles breadcrumbs. Add sultanas.
3. Use a knife to stir through milk and enough water to form a soft dough.
4. Turn dough onto a floured surface and press out to 2cm thickness. Cut into 5cm rounds. Knead scraps together and repeat. Place rounds onto prepared tray, brush with a little milk and bake for 12-15mins till scones are golden. Cool on a wire rack.
Pin It Now!

Friday, February 1, 2013

Homemade gummi vitamins

We did something a little bit different today. The Ladybug and I made some gummi vitamins which turned out really well and were actually pretty easy.

Recently our naturopath has given Ladybug some liquid herbs to take to help her overcome a chesty cough she's had since Christmas. Unfortunately she is NOT a fan. By the second day she would clamp her mouth shut if I so much as came near her with the stuff (I tried some myself and they are a bit of a nasty shock to the taste buds!) there had to be a way I could get some of these into her each day...


Homemade gummi vitamins were the perfect solution! The original idea is not my own, it comes from The Wellness Mama, who has some fantastic DIY recipes on her blog. Her recipe can be found here.

I tweaked the original so it was more suitable for us and the end results were great! (Recipe below)


All you need is some fruit juice, gelatine (grass fed beef gelatin is best if you want the extras of protein, collagen, no added sugar/flavourings/chemicals/etc - I used the Bernard Jenson brand seen here), rice malt syrup (you could use honey), silicone molds and herbs or vitamins of your choice (you could use liquid herb extracts like we did or powdered probiotics or vitamin c or even cod liver oil depending on the flavour)


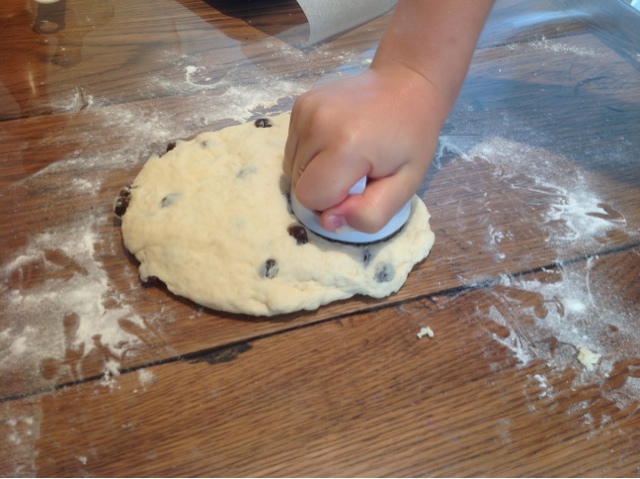
Ladybug enjoyed helping with the measuring, pouring and mixing (and tasting) until I had to move everything onto the stove top where she watched from a distance.


Stir on a low heat until the gelatin has dissolved then pour into a jug. As it was cooling down I added the liquid herb extracts and mixed them all through. I gave the silicone molds a quick spray with some coconut oil then poured the mixture in then popped them in the freezer for 10-15mins.


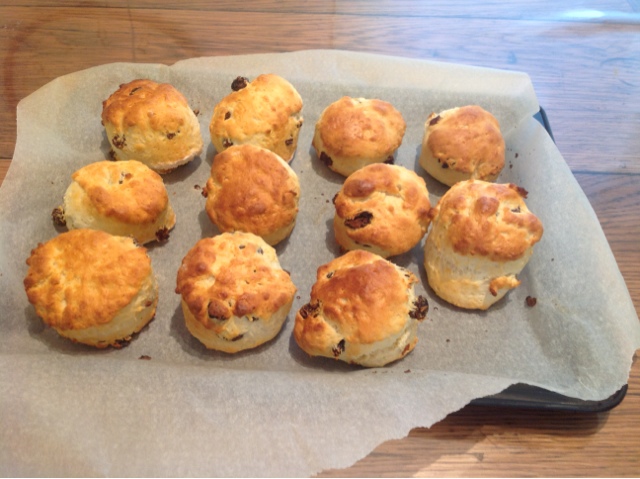
Gently push them out and viola, our very own gummi vitamins (and lots of them too! - we put triple the amount of everything)


The real test was seeing if Ladybug would actually eat them - which, as you can see here was no problem at all. She actually ate 3 of them and was still asking for "more, more?"


Such a difficult task of getting Ladybug's herbs into her has suddenly become so much easier! *phew!*

 Recipe:
1/2 cup juice (we used cranberry)
2 tbs rice malt syrup (you could use honey)
8 tsp powdered gelatin (preferably grass fed beef gelatin)
Vitamins of your choice (herbal extracts, probiotics, cod liver oil, vitamin c)
  • Mix the juice, rice malt syrup and gelatin together in a saucepan
  • Whisk over a low heat just until the gelatin has dissolved
  • Remove from heat and whisk in the herbs/vitamins while cool (esp important if you're using probiotics!)
  • Carefully pour into silicone molds or silicone ice cube trays 
  • Place in the freezer for 10 - 15 minutes
Pin It Now!

Friday, January 18, 2013

Freeform Pretzels

This activity was so easy (and yummy!) and the kids loved the process as well as the result.

We made up a basic pretzel dough (recipe below)


Then on a floured table top they kneaded and rolled the dough into thin sausages


Then twisted and formed it into any shape they liked.


We ended up with letters, windows, teacups, hearts, balls and even a Nerf gun!

The kids loved 'breaking the rules' of the normal recipe which instructs you to shape the dough into a generic pretzel twist.

After all the dough was used up we placed the dough on some baking paper on oven trays. Brushed them with the beaten egg and sprinkled them with some Himilayan rock salt.


They didn't take long in the oven (approx 12 mins at 180) and even better, they didn't take long to cool down. Perfect cause they smelt and tasted sooo yummy! We had them for afternoon tea with some cold slices of watermelon. Even Ladybug demolished all of hers.


We'll definitely repeat this activity but next time might try some variations using whole meal flour or adding chia seeds to the mix.


Pretzel dough:
1 pkg yeast
1 1/2 cups warm water
1 tsp salt
1 tbs sugar (we used dextrose)
4 cups flour
1 egg, beaten
Rock salt (we used Himalayan)

Pour the warm water into a bowl and sprinkle on the yeast and stir.
Add remaining ingredients and mix until dough forms.
We baked it in the oven for about 12 minutes at 180 degrees.
 
Pin It Now!

Wednesday, January 2, 2013

Pom pom sorting

So, I'm not the only one who has this happen when I try to cook?

Emptying out of the cupboards

Or this?

Emptying out of the tissue box

It happens to us all, right!? (please say yes!) Well the easiest way to keep my little one entertained is to give her some things to 'cook' herself. I keep a ziplock bag full of pom poms in the kitchen cupboard right for these moments (and trust me, you want them in a ziplock bag!)
If she wants something to do while I get dinner on, then all I need to do is take out some pots and pans and wooden spoons and she can cook her own little masterpiece!

Mixing and stirring with wooden spoons and whisks are her fave, but you could also use scoops, tongs, jugs, etc (NOTE: If your child likes to mouth things you might want to keep an eye on them the first time they use pom poms to 'cook'!)

When we do this activity together we also spend time talking about the colours (she remembered "yellow" from the other day!) and sort them out using muffin trays (I've also seen people use ice cube trays or egg cartons)

At 16 months she doesn't do this herself yet, we talk about each colour and sort them out together

She also spends time practicing her fine motor skills by pushing pom poms into a container. I used an empty punnet of strawberries and cut a cross on the lid. She loves to push them all in then open it up and tip them all out again.


This activity used to be one of my Ladybugs favourites but she is beginning to grow out of it now and doesn't ask to do it as much, so I thought I had better get a post done quick before she moves on to new things with it... As she gets older we will begin doing trickier activities like creating patterns and sequences:

You could use pom poms to create patterns and ask your child to follow the sequence

Or using them as counters like this


There are many other variations of this activity you could try to mix things up a bit. Check out these blogs for a bit of inspiration:

Toddler pom pom push by Learn with Play at Home 
Surprise pom pom sorting by Toddler Approved

Easy peasy travel game by Just For Daisy


Pin It Now!